Flute Sizing and Setup for Young Students
Everything parents need to know about getting the right flute for a young beginner — curved vs straight headjoints, physical readiness, proper assembly, and common setup mistakes.
Why Flute Sizing Matters for Young Players
The flute is one of the most popular instruments for young students in New Zealand — and for good reason. It's versatile, relatively lightweight, and offers a clear path from beginner through to advanced playing. But there's a catch: the standard concert flute is designed for adult-sized hands and arms. For younger children, reaching the keys comfortably can be a real challenge.
A child struggling to hold the flute properly will develop bad habits — a twisted neck, a crunched shoulder, an awkward right hand position — that become increasingly difficult to fix later. Getting the sizing right from the start saves time, prevents frustration, and sets your child up to enjoy playing from their very first lesson.
When Is a Child Physically Ready for the Flute?
There's no single magic age, but most children are physically ready for some form of flute playing between ages seven and ten. The key physical requirements are:
- Arm length and reach: The flute is held horizontally to the right, meaning the right arm needs to extend comfortably to reach the foot joint keys. Children with shorter arms will struggle with a standard straight flute.
- Finger span: The keys on a student flute are spaced for average hands. Very small fingers may not cover the keys properly, leading to air leaks and frustration.
- Lip and jaw development: Forming a flute embouchure requires the front adult teeth to be in place. Most children have their front adult teeth by age seven, but check — if baby teeth are still wobbling out, it may be worth waiting a few months.
- Breath support: The flute requires a controlled, focused air stream. Children who've played recorder will already have some of this skill. If your child is transitioning from recorder, you can read more about that journey in our recorder transition guide.
If your child is keen but seems a bit young or small for a standard flute, don't worry — that's exactly what curved-head flutes are designed for.
Curved vs Straight Headjoint: Which Does Your Child Need?
This is the most important decision when choosing a flute for a young player. The headjoint is the top section of the flute where the embouchure hole sits, and it comes in two configurations:
Straight Headjoint (Standard)
This is what you'll see on most flutes. The headjoint extends straight out to the left, making the overall instrument quite long. For an adult or a taller child (roughly age nine or ten and above), this is perfectly fine. But for a smaller child, the reach required to the right-hand keys can be too great, forcing them into an uncomfortable, twisted position.
Curved Headjoint
A curved headjoint loops the top section back toward the player, effectively shortening the distance between the embouchure hole and the right-hand keys. This brings everything closer without changing the flute's pitch or key system. The flute plays identically — the same notes, the same fingerings, the same sound — it's simply more compact.
Curved-head flutes are ideal for children aged roughly six to nine, depending on their size. Many quality student flutes come with both a curved and a straight headjoint, so your child can start with the curved one and switch to the straight headjoint when they've grown enough. This is an excellent feature to look for, as it means you won't need a new flute when they're ready to make the change.
How to Decide
The simplest test: if your child can hold a standard straight flute in the correct playing position without twisting their body, tilting their head excessively, or straining to reach the right-hand keys, a straight headjoint is fine. If they can't do this comfortably, go with a curved headjoint. When in doubt, start curved — there's no disadvantage to it, and comfort is everything at the beginner stage.
Proper Flute Assembly
Flutes arrive in three pieces: the headjoint, the body, and the foot joint. Assembling them correctly is important — incorrect assembly can bend keys, damage tenons, and make the flute harder to play.
Step-by-Step Assembly
- Headjoint into body: Hold the body by the barrel (the smooth section at the top, away from the keys). Hold the headjoint by its barrel section. Gently twist and push the headjoint into the body. Align the embouchure hole roughly with the first key on the body — your child's teacher will fine-tune the alignment.
- Foot joint onto body: Hold the body by the barrel area (not by the keys). Hold the foot joint by the end cap, not by the rods or keys. Gently twist and push the foot joint onto the bottom of the body. The rod on the foot joint should roughly align with the centre of the last key on the body.
- Check the fit: Everything should be snug but not forced. If a joint is too tight, don't force it — a small amount of cork grease on the tenons can help. If it's very loose and slides apart on its own, the cork may need adjustment.
Disassembly
Reverse the process: foot joint off first, then headjoint. Always twist gently — never pull straight. Twisting distributes the force evenly and protects the tenon joints. After disassembly, swab the inside of each section with a cleaning cloth or swab to remove moisture before putting the flute back in its case.
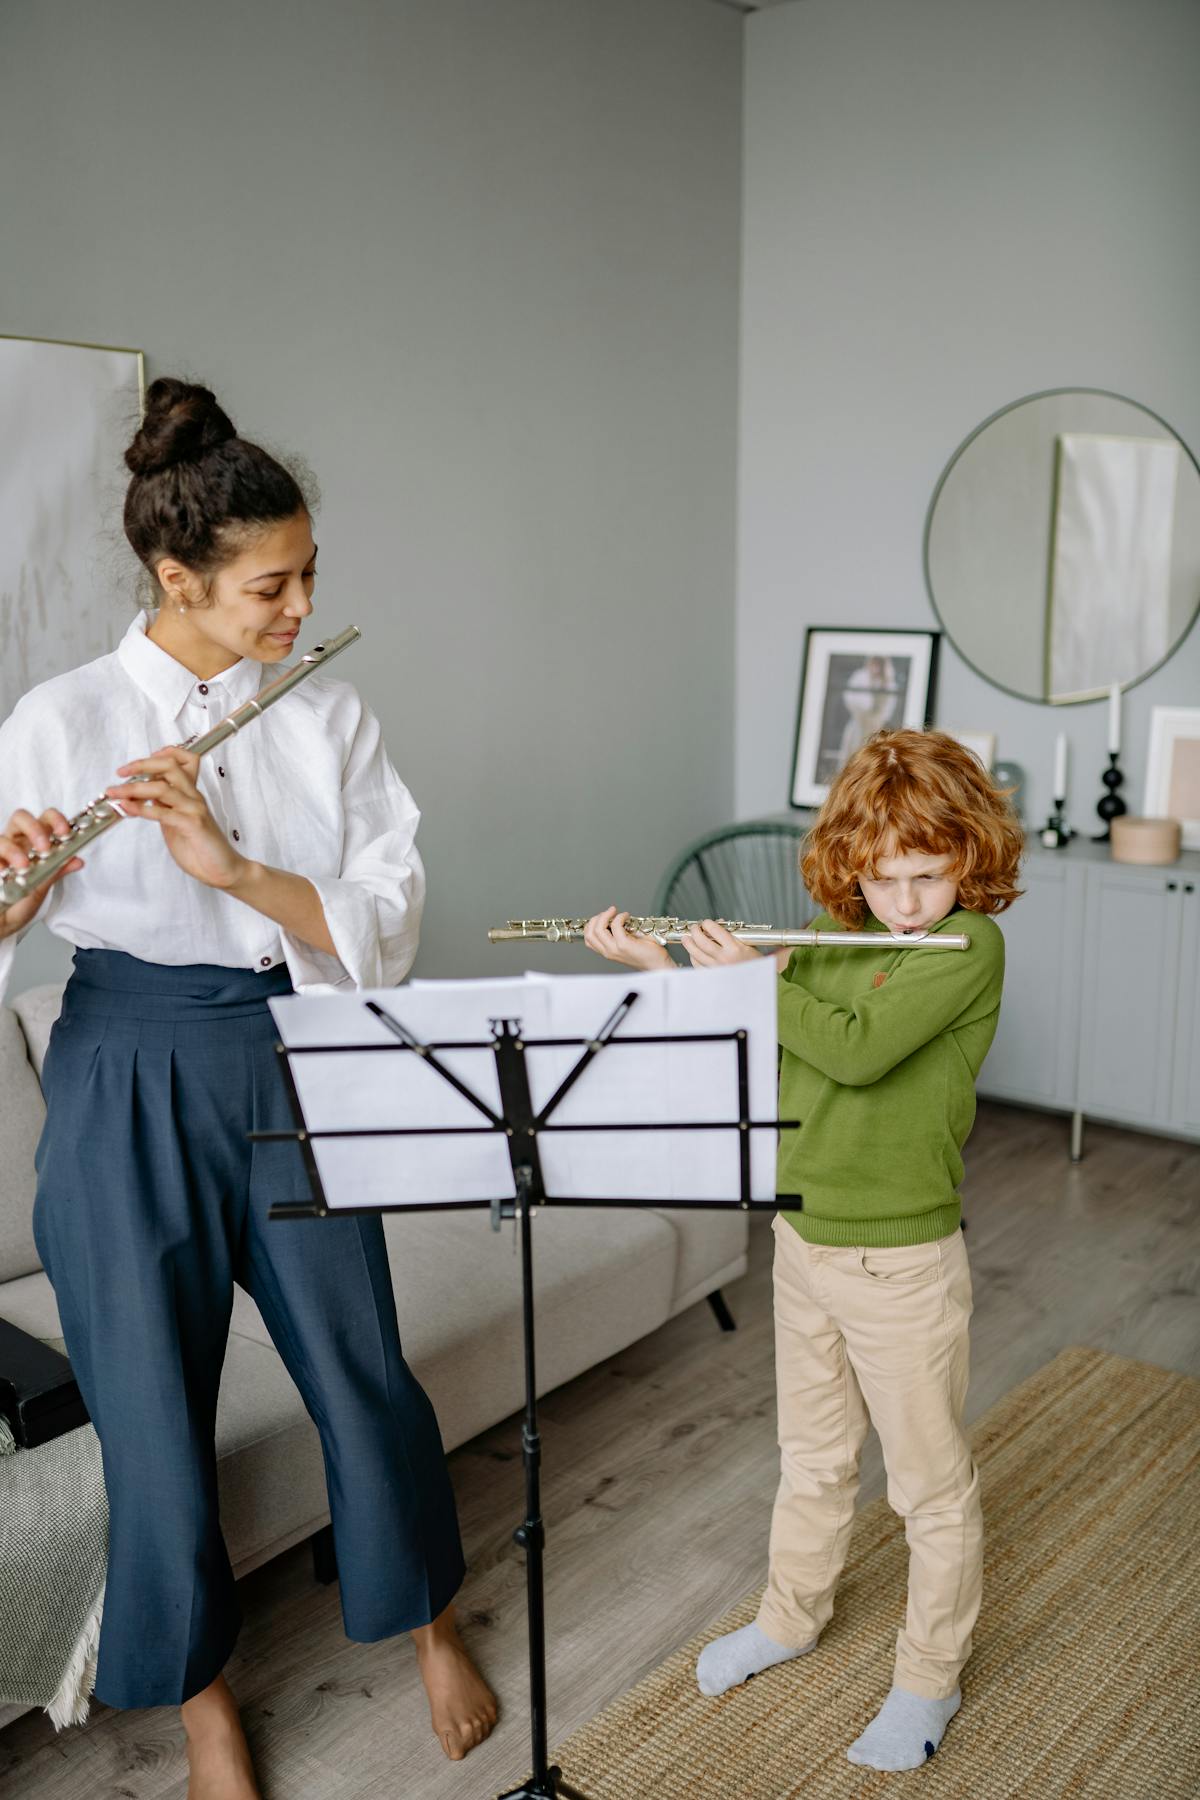
Holding the Flute Correctly
Correct posture and hand position from the start will save your child months of correction later. Here are the essentials:
- Head: Upright, looking forward. The flute comes to them — they shouldn't twist their neck or tilt their head down to reach it.
- Left hand: The left hand sits closer to the headjoint. The thumb supports the flute from underneath, and the fingers curve naturally over the keys. The wrist should be relatively straight, not bent sharply.
- Right hand: The right thumb goes underneath the flute, roughly below the F key, providing support. The right-hand fingers curve over the lower keys. The right pinky rests lightly on the keys at the bottom.
- Elbows: Both elbows should be relaxed and away from the body, roughly at 45 degrees. If your child's elbows are clamped against their sides, the flute is probably too long for them.
- Balance: The flute balances on three points — the chin, the left index finger base, and the right thumb. If these three points are correct, the flute feels secure without gripping.
Common Beginner Setup Mistakes
These are the issues we see most often with young flute students. Most are easy to fix once you know what to look for:
Embouchure hole misalignment
If the headjoint is rotated too far in or out, the embouchure hole won't line up with your child's lip, making it much harder to produce a consistent tone. The embouchure hole should face directly upward (toward the ceiling) when the flute is in playing position.
Assembling by grabbing the keys
This is the most common cause of bent keys and misaligned mechanisms. Always hold the flute by the barrel sections or the smooth parts of the body, never by the keys or rods. Teach your child this from day one.
Playing on a chair that's too low
If your child is sitting to play, the chair height matters. A chair that's too low forces them to tilt their head down, which restricts their air stream and creates tension in the neck. Their feet should be flat on the floor and their head upright.
Forcing tight joints
If the headjoint or foot joint is stiff, the instinct is to push harder. This risks bending the tenon or damaging the joint. A tiny amount of cork grease solves the problem. If the joint is extremely tight, it may need professional adjustment — get in touch rather than forcing it.
Neglecting to swab after playing
Moisture builds up inside the flute during playing. If it's not removed, it causes pad deterioration, tarnishing, and eventually unpleasant odours. Swabbing takes thirty seconds and should become an automatic part of your child's post-practice routine. For more general care tips, see our instrument care guide.
Getting Started with the Right Flute
The best thing you can do for a young flute student is give them an instrument that fits properly and is set up well. A flute that's the wrong size or poorly assembled will make every lesson harder than it needs to be, and it can put children off before they've had a fair chance to enjoy playing.
If you're not sure whether your child needs a curved or straight headjoint, or you'd like advice on which student flute would suit them, browse our flute range or reach out to us. We'll help you get the right fit from the start.